


Configuring the root FortiGate and downstream FortiGates
The following procedures include configuration steps for a typical Security Fabric implementation, where the edge FortiGate is the root FortiGate, and the downstream FortiGate devices are all devices that are downstream from the root FortiGate.
Prerequisites
- FortiGate devices must either have VDOMs disabled or be running in split-task VDOM mode in order to be added to the Security Fabric. See Virtual Domains.
- FortiGate devices must be operating in NAT mode.
Configure the root FortiGate
The edge FortiGate is typically configured as the root FortiGate, as this allows you to view the full topology of the Security Fabric from the top down.
To configure the root FortiGate:
- Connect to the root FortiGate and go to Security Fabric > Settings.
- Enable FortiGate Telemetry.
FortiAnalyzer Logging is automatically enabled.

- Enter the Fabric name.
- Enable Allow other FortiGates to join, and select interfaces.
- In the FortiAnalyzer Logging section, in the IP address field, enter the IP address of the FortiAnalyzer.
If you select Test Connectivity and this is the first time that you are connecting the FortiGate to the FortiAnalyzer, you will receive a warning message because the FortiGate has not yet been authorized on the FortiAnalyzer. You can configure this authorization when you configure the FortiAnalyzer. See Configuring FortiAnalyzer.
- If you need log transmissions to be encrypted, enable SSL encrypt log transmission.
- If required, enable Allow access to FortiGate REST API and, optionally, Trust FortiAnalyzer by serial number.
The REST API accesses the FortiGate topology and shares data and results. The FortiGate will verify the FortiAnalyzer by retrieving its serial number and checking it against the FortiAnalyzer certificate. When verified, the FortiAnalyzer serial number is stored in the FortiGate configuration. When authorizing the FortiGate on the FortiAnalyzer, the FortiGate admin credentials do not need to be entered.
- Click Apply.
Add downstream devices
Downstream FortiGate devices can be securely added to the Security Fabric without sharing the password of the root FortiGate. Downstream device serial numbers can be authorized from the root FortiGate, or allowed to join by request. New authorization requests include the device serial number, IP address, and HA members. HA members can include up to four serial numbers and is used to ensure that, in the event of a fail over, the secondary FortiGate is still authorized.
Pre-authorizing the downstream FortiGate
When a downstream Fortinet device's serial number is added to the trusted list on the root FortiGate, the device can join the Security Fabric as soon as it connects. After the new device is authorized, connected FortiAP and FortiSwitch devices are automatically included in the topology, where they can be authorized with one click.
To pre-authorize a FortiGate:
- On the root FortiGate, go to Security Fabric > Settings.
- Ensure that the interface that connects to the downstream FortiGate has Security Fabric Connection enabled.
- In the Pre-authorized FortiGates, select Edit. Add a new FortiGate to the list using the downstream device's serial number.
- On the downstream FortiGate, go to Security Fabric > Settings.
- Enable FortiGate Telemetry.
-
Set Security Fabric role to Join Existing Fabric.
-
Enter the IP address of the upstream or root FortiGate in the Upstream FortiGate IP field.
-
Click Apply.
- On the root FortiGate, go to Security Fabric > Settings and verify that the downstream FortiGate that you added appears in the Security Fabric topology.

Using LLDP
You can automatically prompt downstream FortiGate devices to join the Security Fabric using Link Layer Discovery Protocol (LLDP) and interface role assignments.
- On the root FortiGate, assign the LAN role to all interfaces that may connect to downstream FortiGate devices.
When the LAN role is assigned to an interface, LLDP transmission is enabled by default.
- When a downstream FortiGate is installed, assign the WAN role to the interface that connects to the upstream FortiGate.
When the WAN role is assigned, LLDP reception is enabled by default. The newly installed FortiGate uses LLDP to discover the upstream FortiGate, and the administrator is prompted to configure the FortiGate to join the Security Fabric.
- On the root FortiGate, the new FortiGate must be authorized before it can join the Security Fabric.
|
|
If the network contains switches or routers, LLDP may not function as expected because some devices do not pass LLDP packets. |
Device request
A device can request to join the Security Fabric from another FortiGate, but it must have the IP address of the root FortiGate. The administrator of the root FortiGate must also authorize the device before it can join the Security Fabric.
The root FortiGate must have FortiTelemetry enabled on the interface that the device connects to.
To enable FortiTelemetry on an interface:
- Go to Network > Interfaces.
- Edit the interface that the device that you authorizing to join the Security Fabric is connected to.
- Under Administrative Access, enable Security Fabric Connection.
- Under Network, turn on Device Detection.
To join the Security Fabric by device request:
- Connect to the unauthorized FortiGate or FortiWiFi device, and go to Security Fabric > Settings.
- Enable FortiGate Telemetry.
- To connect, set Security Fabric role to Join Existing Fabric.
- Set Upstream FortiGate IP to the IP address of the upstream FortiGate.
- Connect to the root FortiGate and go to Security Fabric > Settings. The new FortiGate appears in the Topology as unauthorized.
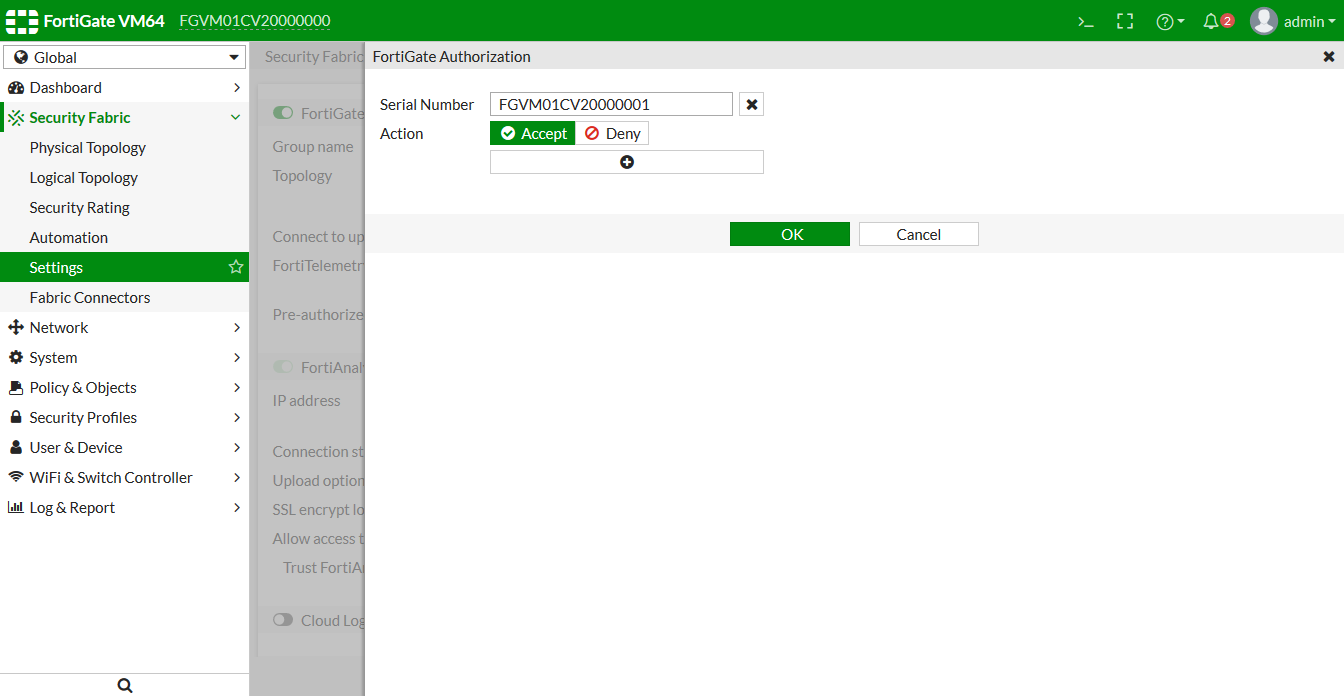
- Click on the unauthorized device and select Authorize to authorize the device.
CLI commands
Use the following commands to view, accept, and deny authorization requests, to view upstream and downstream devices, and to list or test fabric devices:
|
Command |
Description |
|---|---|
|
diagnose sys csf authorization pending-list |
View pending authorization requests on the root FortiGate. |
|
diagnose sys csf authorization accept <serial-number-value> |
Authorize a device to join the Security Fabric. |
|
diagnose sys csf authorization deny <serial-number-value> |
Deny a device from joining the Security Fabric. |
|
diagnose sys csf downstream |
Show connected downstream devices. |
|
diagnose sys csf upstream |
Show connected upstream devices. |
|
diagnose sys csf fabric-device list |
List all known fabric devices. |
|
diagnose sys csf fabric-device test |
Test connections to locally configured fabric devices. |
Desynchronizing settings
By default, the settings for FortiAnalyzer logging, central management, sandbox inspection, and FortiClient EMS are synchronized between all FortiGate devices in the Security Fabric. To disable the automatic synchronization of these settings, use the following CLI command:
config system csf
set configuration-sync local
end
Deauthorizing a device
A device can be deauthorized to remove it from the Security Fabric.
To deauthorize a device:
- On the root FortiGate, go to Security Fabric > Settings
- In the Topology field, click on the device and select Deauthorize.
- Click on the device.
After devices are deauthorized, the devices' serial numbers are saved in a trusted list that can be viewed in the CLI using the show system csf command. For example, this result shows a deauthorized FortiSwitch:
show system csf
config system csf
set status enable
set group-name "Office-Security-Fabric"
set group-password ENC 1Z2X345V678
config trusted-list
edit "FGT6HD391806070"
next
edit "S248DF3X17000482"
set action deny
next
end
end
end