


Requesting and obtaining a Collector installer
You can click the Request Collector Installer button ( ) to obtain a Collector installer file that can be used to install a Collector. This option enables you to request an installer for a particular operating system(s), such as Windows, MacOS, or Linux. This installer is similar to the standard wizard used to install a Collector, except that many of the fields in the wizard have already been filled in for you. The requested installer is then emailed to you. After you receive the installer file from FortiEDR, simply unzip it using the password provided in the email, double-click the installer and then follow the instructions to install a Collector based on the operating system on which it is to be installed, as described in Installing FortiEDR Collectors.
In order to determine the type of installer to request (according to the operating system), configure the settings in the Custom Collector Installers window, as described below.
To configure custom installer settings:
- In the Licensing window, click the Request Collector Installer button (). The following displays:

- In the Select the installer you would like to generate area, select the checkbox of the installer(s) you want to request. Multiple installers can be requested at the same time.

- In the adjacent dropdown list, select the installer version. When selecting installers for more than one operating system, you must specify the version for each of them. Specify the version in the same manner as described on Updating the Collector version
- In the Aggregator Address dropdown list, select the aggregator to which this Collector is registered.
- In a multi-tenant system, select the organization to which the installed Collector is registered in the Organization dropdown list.
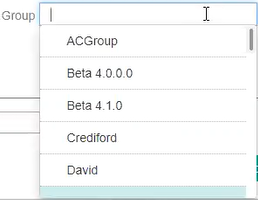
- In the Group dropdown list, select the Collector Group to which the installed Collector is assigned, or leave the field empty for the Collector to be assigned to the default Collector Group.
- In the Advanced area, specify the following:

- VDI (Virtual Desktop Infrastructure) Installation: If you are installing the Collector on a VDI environment, check this checkbox. For more details, you may refer to the Working with FortiEDR on VDI Environments section on page 54.
- Use System Proxy Settings: If you use a web proxy to filter requests in this device’s network, then check the Use System Proxy Settings checkbox. Note that Windows must be configured to use a proxy and tunneling must be allowed from the Collector to the Aggregator on port 8081 and from the Collector to the Core on port 555. (Run as Administrator: netsh winhttp set proxy <proxy IP >).
- Start After Device Reboot: Check this checkbox in order to delay data collection until a device reboot is applied. This is only required in rare cases. Typically, this checkbox remains unchecked.
- In the Send Installers Link To field, specify the email address to which the installer is to be sent.
- Click the Send Request (
 ) button. A confirmation message displays.
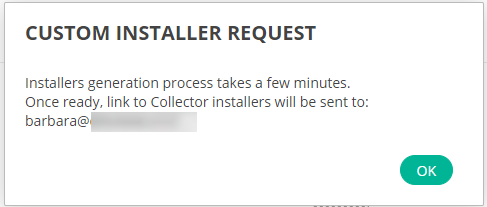
- Click OK. After the installer is generated by FortiEDR, it is emailed to the specified email address. Note that the link to download installers is only available for several hours. Be sure to download the installers within the required time period so that the link does not expire.
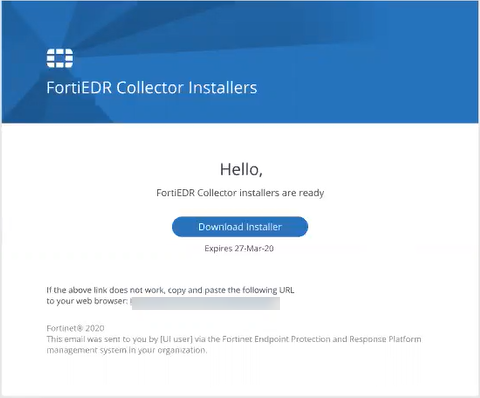
Note that in the presence of an email filtering system and/or a mail transfer agent that modifies the URL content, the installer download URL might include space(s) or %20s in it, that are added by the system/agent. In these cases, browsing directly to the URL will fail with a signature error message from the installer storage.
In such cases the URL should be amended to drop the redundant space/%20 before it can be used.