Add Jira Notification Target
Prerequisite
The Jira account credential that is being used to create the Jira Notification target must have User Management Access.
Follow the steps in Jira Software Configuration to create the following:
- For FortiCNP to send notification and create a Jira ticket, a Jira service project needs to be created.
- Create an API token in the Jira account for authentication purpose.
Steps to Create Jira Notification Target.
Use the Jira account e-mail address and API token you got from Add Jira Notification Target to create the Jira Notification Target.
- On FortiCNP menu, go to ADMIN > Notifications.
- Click +Add New and select Jira Software Ticket, then click Add New Notification Target.
- Give a name for the Notification Target.
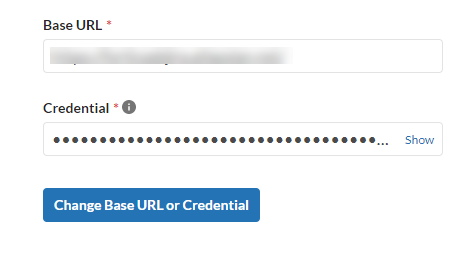
- In Step 1, Enter the Base URL of your Jira account.
- Enter the credential: the login e-mail address of the account and the API token created earlier separated by a colon.
- Click the Project Name drop down menu to select the service project you want to use.
- Click the Issue Type, Priority, and Jira Labels(optional) drop down menus and select the issue type, priority, and label the notification should have.
- At the end, click the Assignee(optional) drop down menu to select a user that has access to the selected service project.
- In Alert Notification, turn On/Off the alert notification triggered by policy violations.
- Click Send Notification for Alert Triggered By Objects In drop down menu and select resource group(s). Only the alerts triggered by the selected resource groups will send notification. You can monitor all cloud accounts be selecting All Resource. To create a resource group, please see Resource Group.
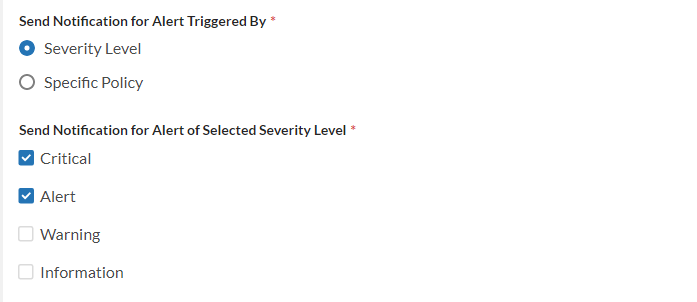
- Select the method that the notification should be triggered by - Severity Level or Specific Policy.
- When Severity Level is selected, select the severity level the notification will be triggered by. Only the alerts triggered by the selected severity level will send notifications
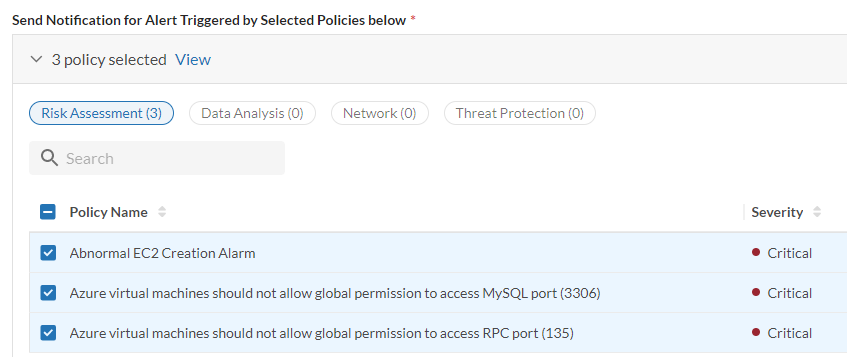
- When Specific Policy is selected, click the select policy drop down menu and select at least one policy. Only the alerts triggered by the selected policy will send notifications.
- Check the Do Not Send Notification for the Same Alerts within 24 hours to prevent receiving the same notification within 24 hour period.
- Click Add New Notification Target to finish.
For example: xx@xxxxxx.com:MwIPAMRkT8PC6NxaUe65B226