Add ServiceNow Notification Target
Prerequisite
A ServiceNow instance and the system administrator user credential of the instance is required to create the ServiceNow notification target.
- On FortiCNP menu, go to ADMIN > Notifications.
- Click +Add New and select ServiceNow Incident, then click Add New Notification Target.
- Give a name for the Notification Target.
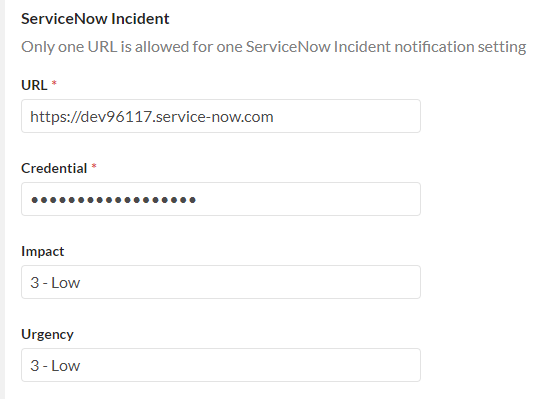
- Enter the ServiceNow Instance URL - for example, https://xxxxx.service-now.com.
- Enter the ServiceNow Instance Credential username and password separated by a colon - for example, username:password.
- In Impact and Urgency parameter, enter the impact parameter for the ServiceNow incident: "1 - High", "2 - Medium", "3 - Low"(default), the values are case sensitive.
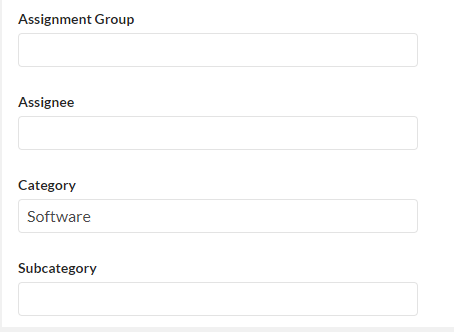
- In Assignment Group, enter the assignment group. In Assignee, enter the assignee. (The default value for both of them is empty)
- In Category, enter one of the following values: "Inquiry/Help"(default), "Software" ,"Hardware" ,"Network", "Database", "--None--". (The values are note case sensitive)
- In Subcategory, enter one of the following values of the category. The default is "--None--"
- Inquiry/Help - Antivirus, Email, Internal Application, --None--
- Software - Email, Operating System, --None--
- Hardware - CPU, Disk, Keyboard, Memory, Monitor, Mouse, --None--
- Network - DHCP, DNS, IP Address, VPN, Wireless, --None--
- Database - DB2, MS SQL Server, Oracle
- In Alert Notification, turn On/Off the alert notification triggered by policy violations.
- Click Send Notification for Alert Triggered By Objects In drop down menu and select resource group(s). Only the alerts triggered by the selected resource groups will send notification. You can monitor all cloud accounts be selecting All Resource. To create a resource group, please see Resource Group.
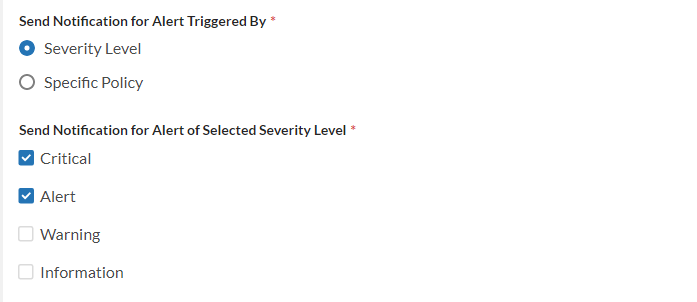
- Select the method that the notification should be triggered by - Severity Level or Specific Policy.
- When Severity Level is selected, select the severity level the notification will be triggered by. Only the alerts triggered by the selected severity level will send notifications
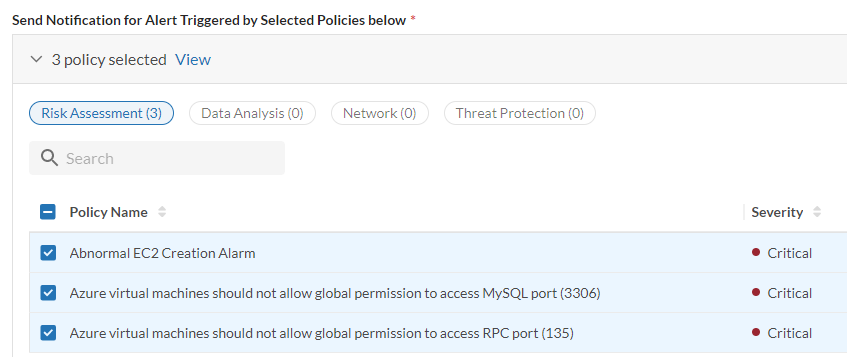
- When Specific Policy is selected, click the select policy drop down menu and select at least one policy. Only the alerts triggered by the selected policy will sent notifications.
- Check Do not Send Notification for the Same Alerts within 24 hours to prevent receiving the same notification within 24 hour period.
- Click Add New Notification Target to finish.
Note: If both assignment group and assignee are entered, the assignee must be in the assignment group, otherwise the incident cannot be created.


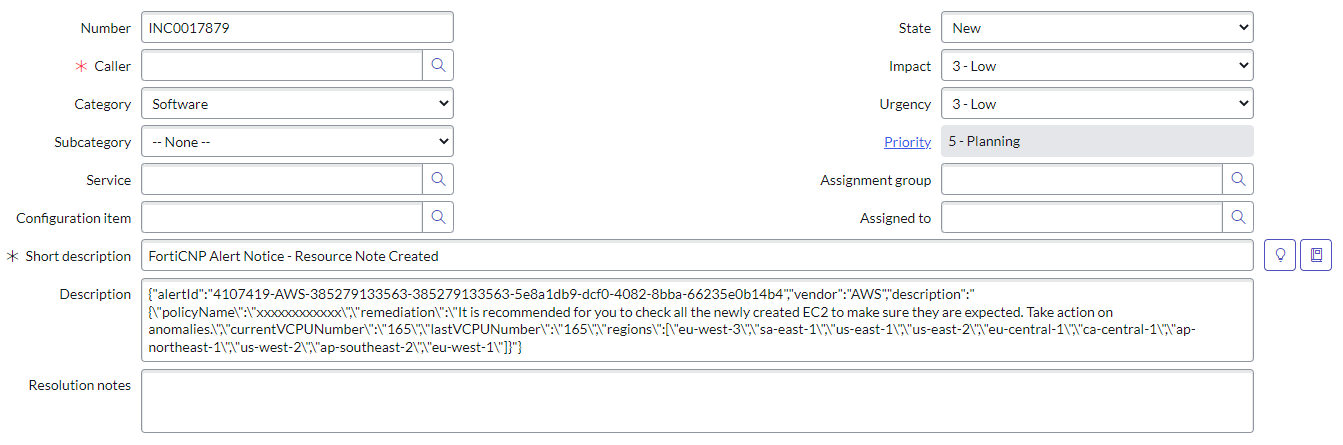
When a FortiCNP finding is generated for the notification target, a ServiceNow incident will be created with the subject: FortiCNP Alert Notice - (Finding Subject)