Update AWS Account Manually
When your AWS account failed to be added to FortiCNP, you can update the AWS account on FortiCNP to re-add the account. It also gives you a chance to add or delete the optional permissions to the existing account. For more details, see AWS Permission and Resource Requirements.
There are two parts in updating the AWS account. The first part is to delete the existing AWS cloudformation, role, and policies. The second part is creating a new stack, role and policies to update the AWS account.
Update AWS Account - Part 1
- From the FortiCNP navigation pane, go to ADMIN > Cloud Accounts, click Action button of the account and select Update Account.
- In Update AWS Account selection, select Update this Account Automatically and click Update AWS Account.
- Click Go to AWS CloudFormation Guide to be re-directed to AWS CloudFormation guide to clean up the previous configurations.
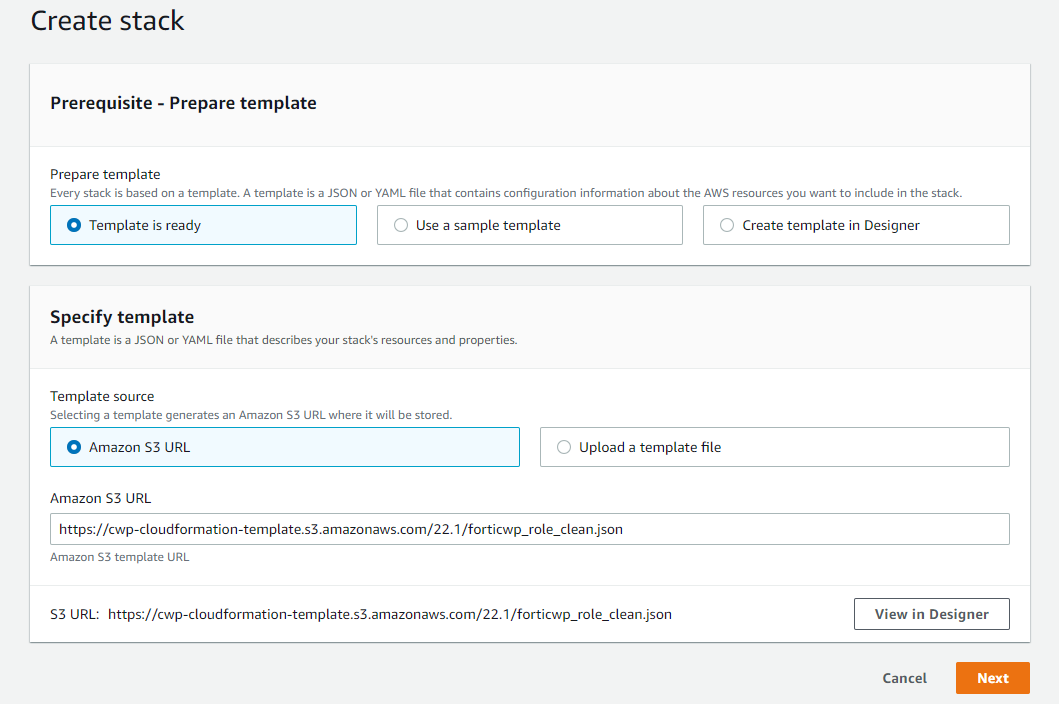
- A new page will pop up with AWS CloudFormation Guide, click Next at the bottom of each page until the last page, and click Create Stack.
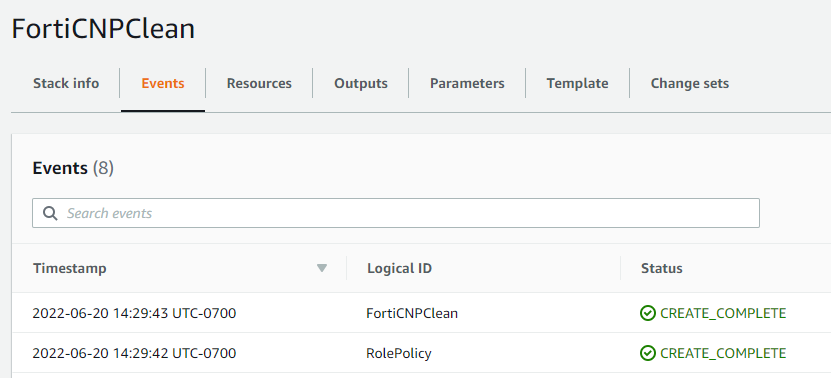
- Refresh the stack status page and until the FortiCNPClean stack status shows "CREATE_COMPLETE".
- Go back to FortiCNP update account page, and click Continue.


Update AWS Account - Part 2
After part 1 is completed, a status update will show that the cleanup stack have removed the old CloudFormation, roles, and policies.
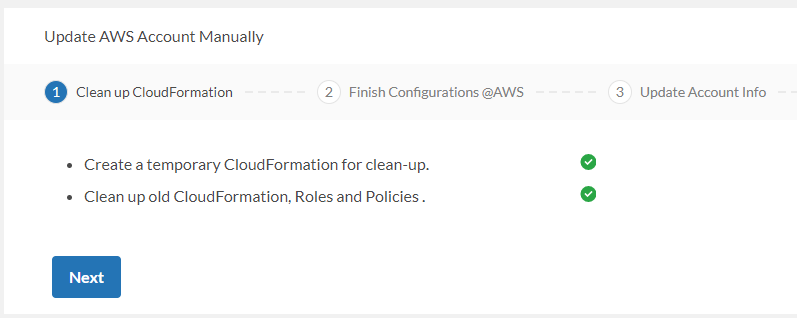
- Click Next to continue with the rest of the steps.
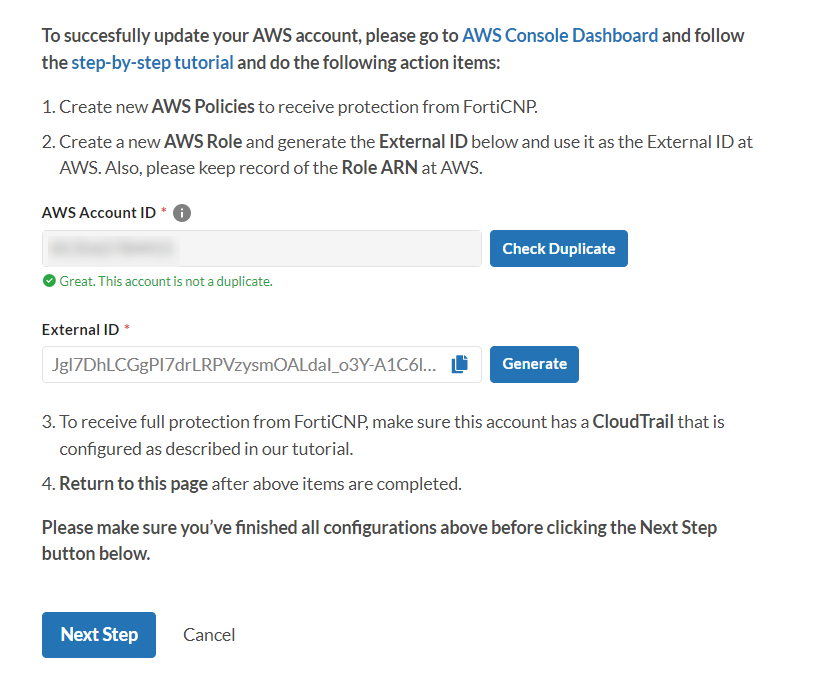
- Follow the tutorial in Add AWS Account Manually to create new AWS Policies, Role, and CloudTrail.
- Click Next Step to continue.
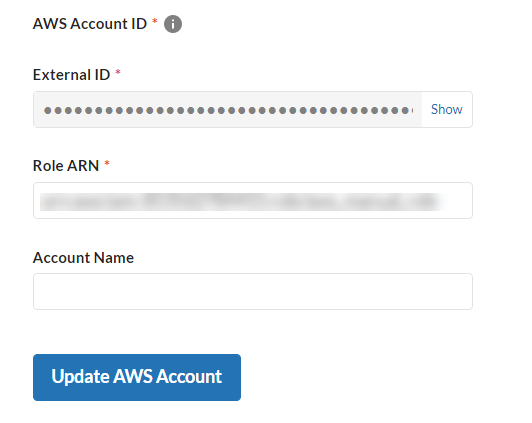
- Enter the Account Name to and click Update AWS Account to finish.