


Adding IAM users
Use the Add New wizard to configure IAM users and generate their login credentials. To save time, you can apply a permission profile or assign the user to a group.
To add a new IAM user, you must:
-
Create the new user account. See Creating a new IAM user.
-
Generate the password reset link and share it with the selected IAM user. See Generating the password reset link.
Creating a new IAM user
You can create a new IAM user with the Add New wizard.
To create an IAM user with the wizard:
- Select Users from the left-hand navigation menu. The Users page opens.
- Click Add New > IAM User. The User Details pane opens.
- (Optional) Click Apply same permissions as existing User, and then select a user from the dropdown. You can configure the permissions later.
- Enter the user's details and click Next.
Username Type the username with no spaces. Full Name Type the user's first and last name. Email Type the user's email address. Phone Select the country code from the dropdown, and type the user's phone number. Description (Optional) Type a description of the user. 
-
(Optional) Add the user to an IAM user group. See User groups.
-
Select Yes from Basic Info.

A dropdown list of user groups is displayed.
-
Select a user group from the dropdown.
-
Click Next, and proceed to Step 10.
-
- Select the user type from Choose A Type dropdown list.

- From the Permission Scope dropdown, select an asset folder or Organizational Unit.

Permission Scope hierarchy and options depend on the type you select in the previous step.

- In the Permissions Profile dropdown, select a profile.

The Permission Details assigned to the selected profile are displayed.
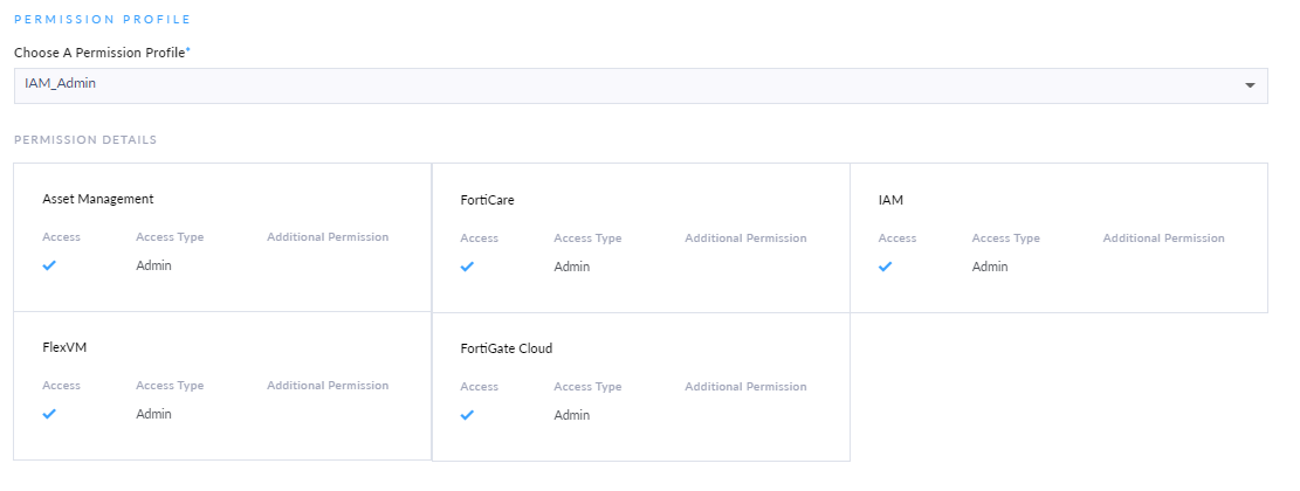
If the SysAdmin profile is selected, a message will display instead of portal cards to denote that the user has full access to all portals.
- Click Next. The Confirmation page is displayed.
- Review the user information, and click Confirm. The user's details are displayed.
Account credentials must be shared with the user. The account password can be configured using Generate Password. See Generating the password reset link to configure the account password and share user credentials.
Generating the password reset link
You can choose to generate the password reset link and share it with the selected IAM user.
To generate the password reset link:
-
On the Successful User Registration page, click Generate Password. The Login with the Generated Link dialog opens.

-
Click Generate Password. A reset link is generated.

-
Click Copy Reset Link. The reset link is copied to your clipboard and you can now share it with the IAM user.
-
For the IAM user to reset their password, paste the reset link into your browser. The Reset Password page opens and account credentials are displayed.

-
Enter the password in the New Password and Confirm New Password fields.
-
Click Submit. A confirmation message displays.

|
|
The Generate Password link can also be accessed on Security Credentials tab of the Users > IAM user page. See Resetting a password. |
Send the credentials to the user. New IAM users are required to perform a validation check the first time they log in to a portal. See Validating new IAM users.