


Adding an IAM user group
Create a group of asset and portal permissions, and then assign users to the group.
To create a user group:
- Select User Groups from the left-hand navigation menu. The User Groups page opens.

- Click Add IAM User Group. The IAM User Group Information page is displayed.
- In the Group Name field, enter a name for the group.
- (Optional) In the Description field, describe the group.
- (Optional) Set the Status to Disabled. The status is Active by default.
- Click Next.
- From the Permission Scope dropdown, select an asset folder.
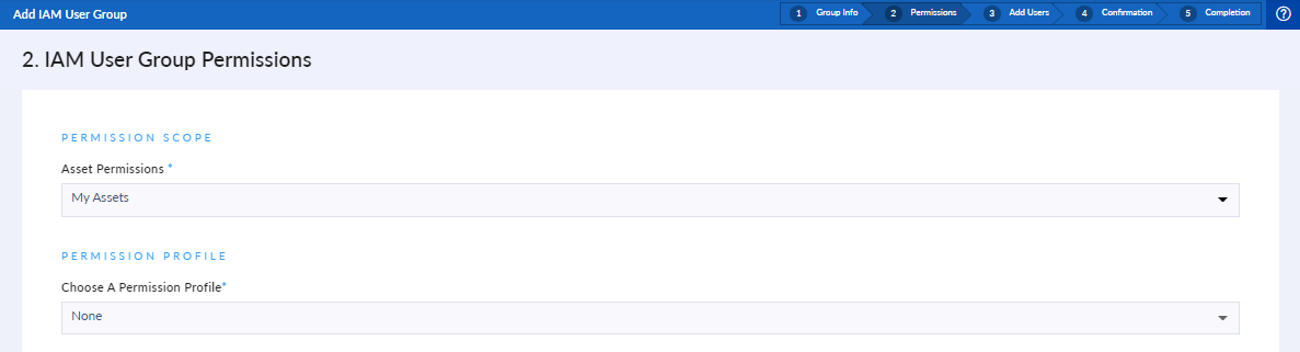
- In the Permissions Profile dropdown, select a profile.

The Permission Details assigned to the selected profile are displayed.

If the SysAdmin profile is selected, a message will display instead of portal cards to denote that the user has full access to all portals.
- Click Next. The Add IAM user(s) page is displayed.
- Assign users to the group.
- Click Add User.
- (Optional) Click Filter users by Group, to view users in a group. Selecting a user in a group will remove the user from that group.
- (Optional) Enter a username in the search bar, and enter the user name. As you type, partial results are returned.
- Select the users and click Add.
- Click Next.The Confirmation page is displayed.
- Review the group permissions, and click Confirm.

- (Optional) Click Add Another Group.