


Obtaining the deployment image and placing it in your bucket
- Go to https://support.fortinet.com.
- In the top menu, navigate to Download > Firmware Images.
- From the Select Product dropdown list, select FortiAuthenticator, then click the Download tab.
- Navigate to the desired firmware release.
- Download the FAC_VM_OPCVX-buildXXXX-FORTINET.out.opc.zipfile.

- XXX is the build number.
- Ensure the file name includes the OPC.
- After you extract the zip the file, locate the fackvm.qcow2 file.
You will need this file to deploy FortiAuthenticator on OCI.
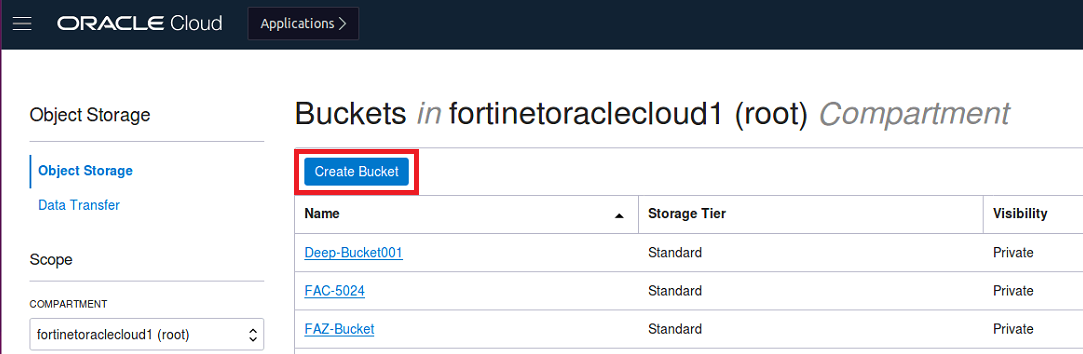
- In OCI, go to Core Infrastructure > Object Storage > Object Storage.
- Click Create Bucket to create a standard storage bucket.
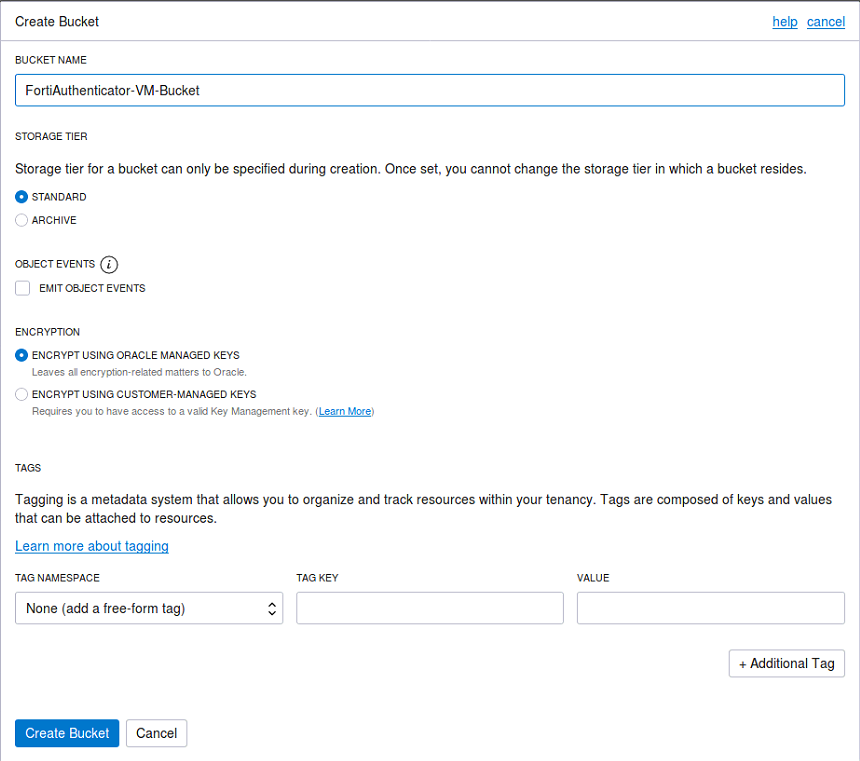
- In the Bucket Name field, name the bucket, then click Create Bucket.
- Click the name of the bucket you created to edit it.
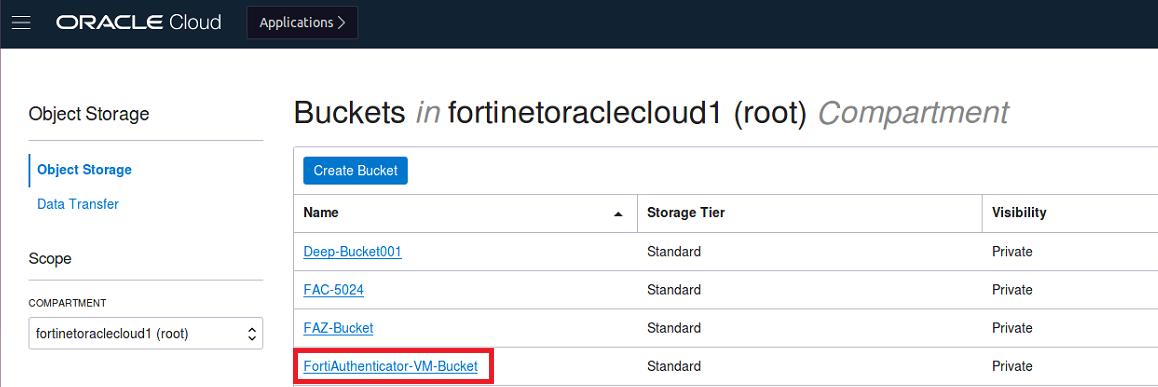
- Click Upload Objects.

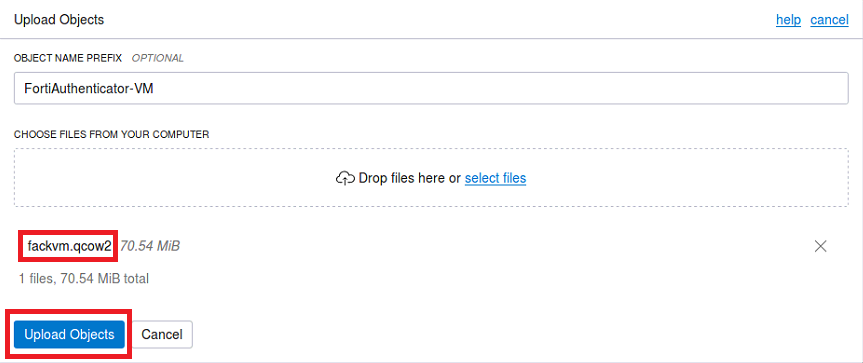
- Upload the objects:
- (Optional) Edit the Object Name Prefix.
- Upload the deployment image fackvm.qcow2 file that you downloaded.
- Click Upload Objects.
- Select View Object Details for the newly uploaded object.
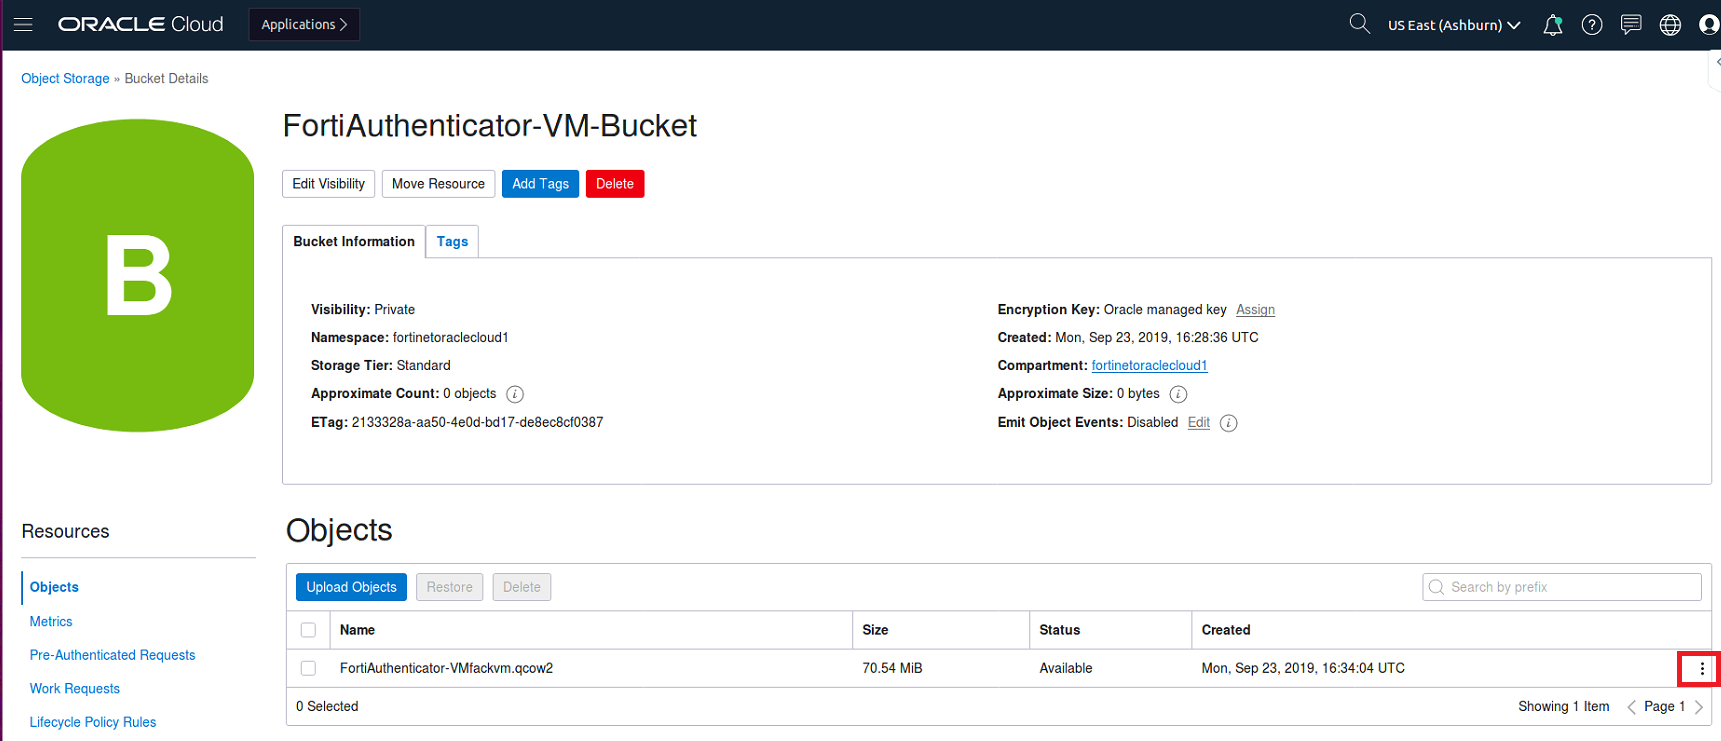
- Save the URI of the object.

This file is required in a subsequent step. 