Launching the FortiAuthenticator-VM instance
- In OCI go to Core Infrastructure > Compute > Custom Images, and click the previously imported image.
See Importing the image.

- Click Create Instance.

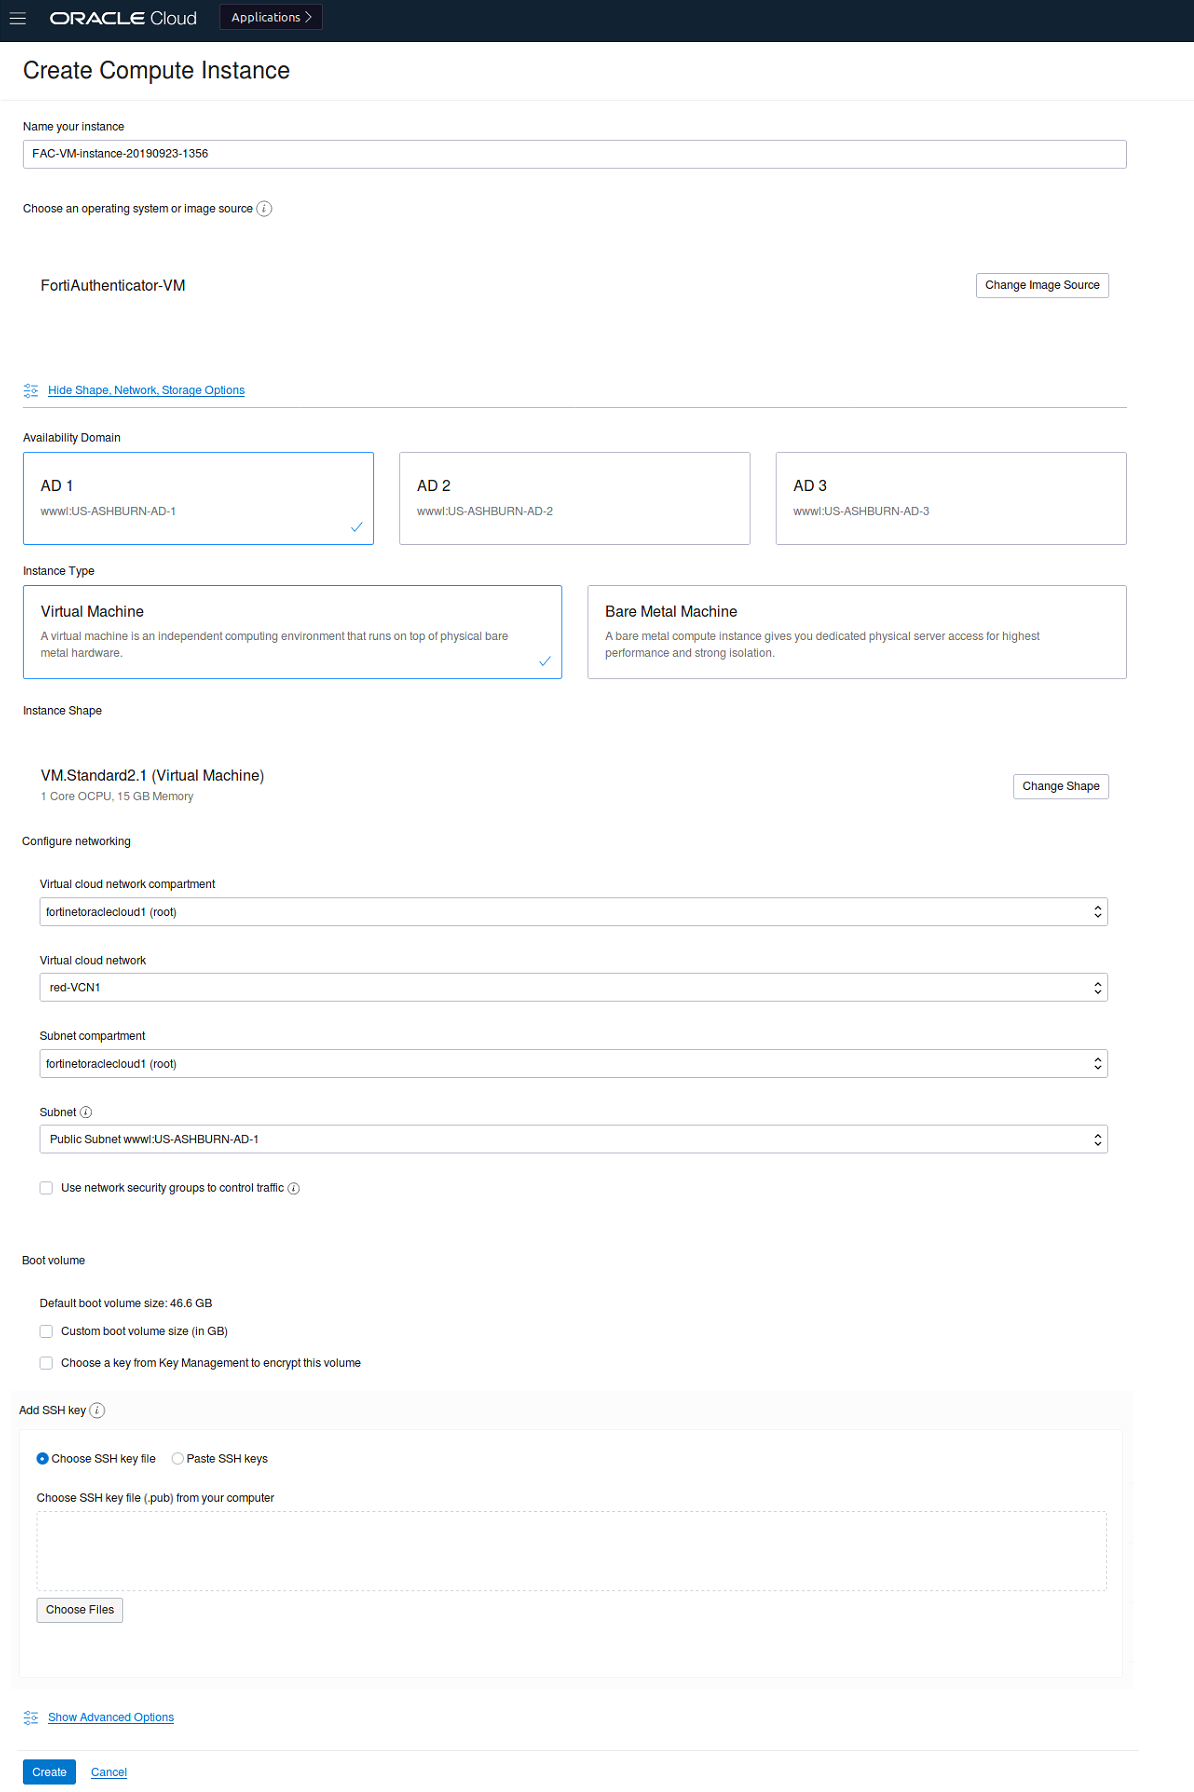
- On the Create Compute Instance page:
- In the Name your instance field, name the instance.
- In the Configure networking section, configure the network.

The Subnet must be a public network reachable using an SSH client and web browser.
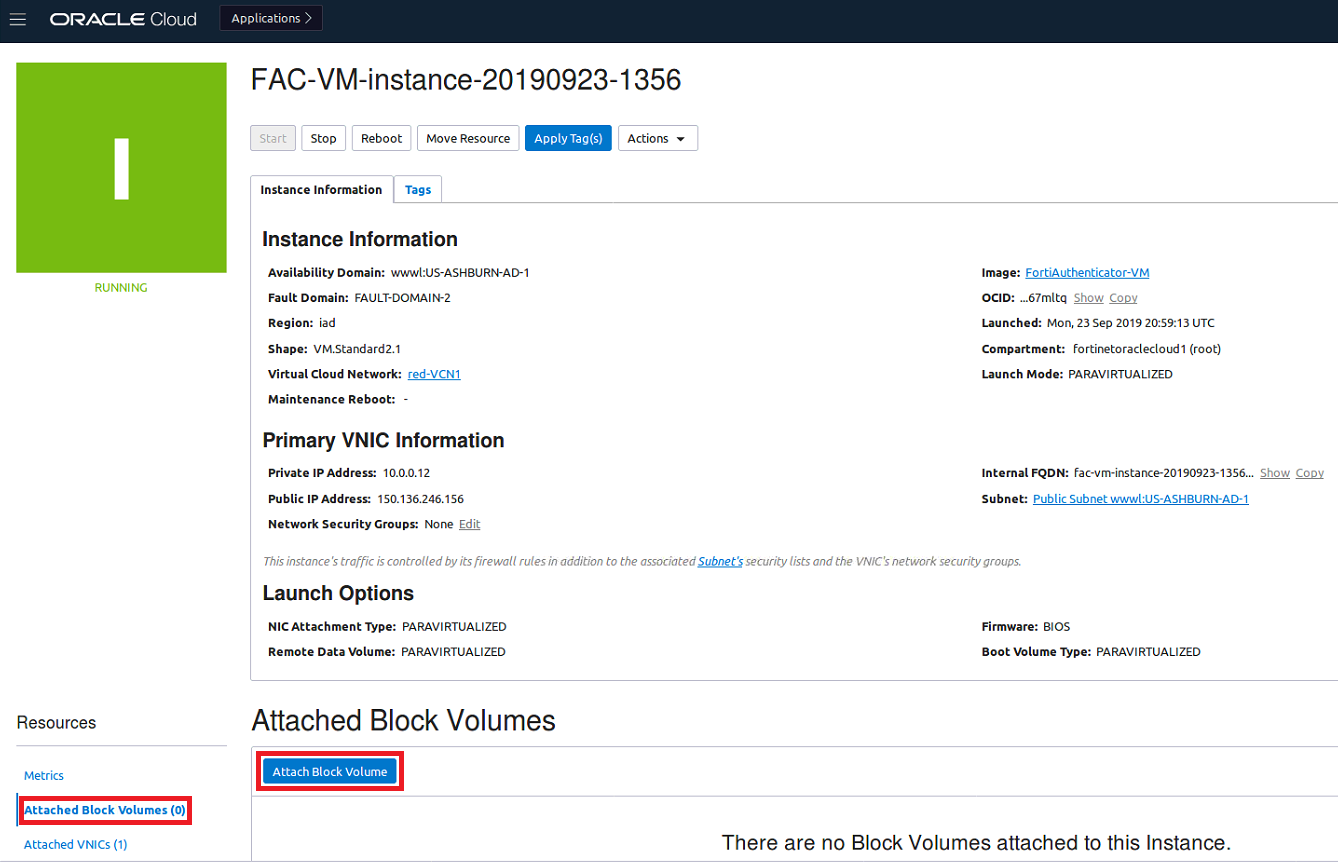
- Once the instance is Running:
- From the side-menu, select Attached Block Volumes (0).
- Click Attach Block.
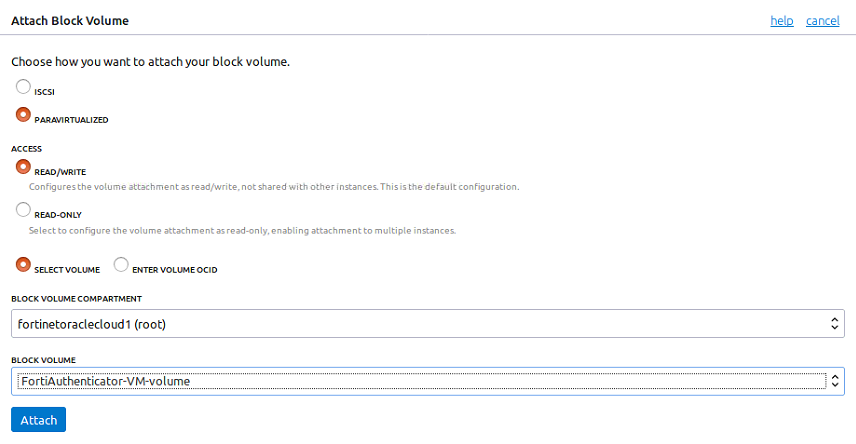
- On the Attach Block Volume page, select the following options, and click Attach:
- PARAVIRTUALIZED
- READ/WRITE
- The previously created BLOCK VOLUME
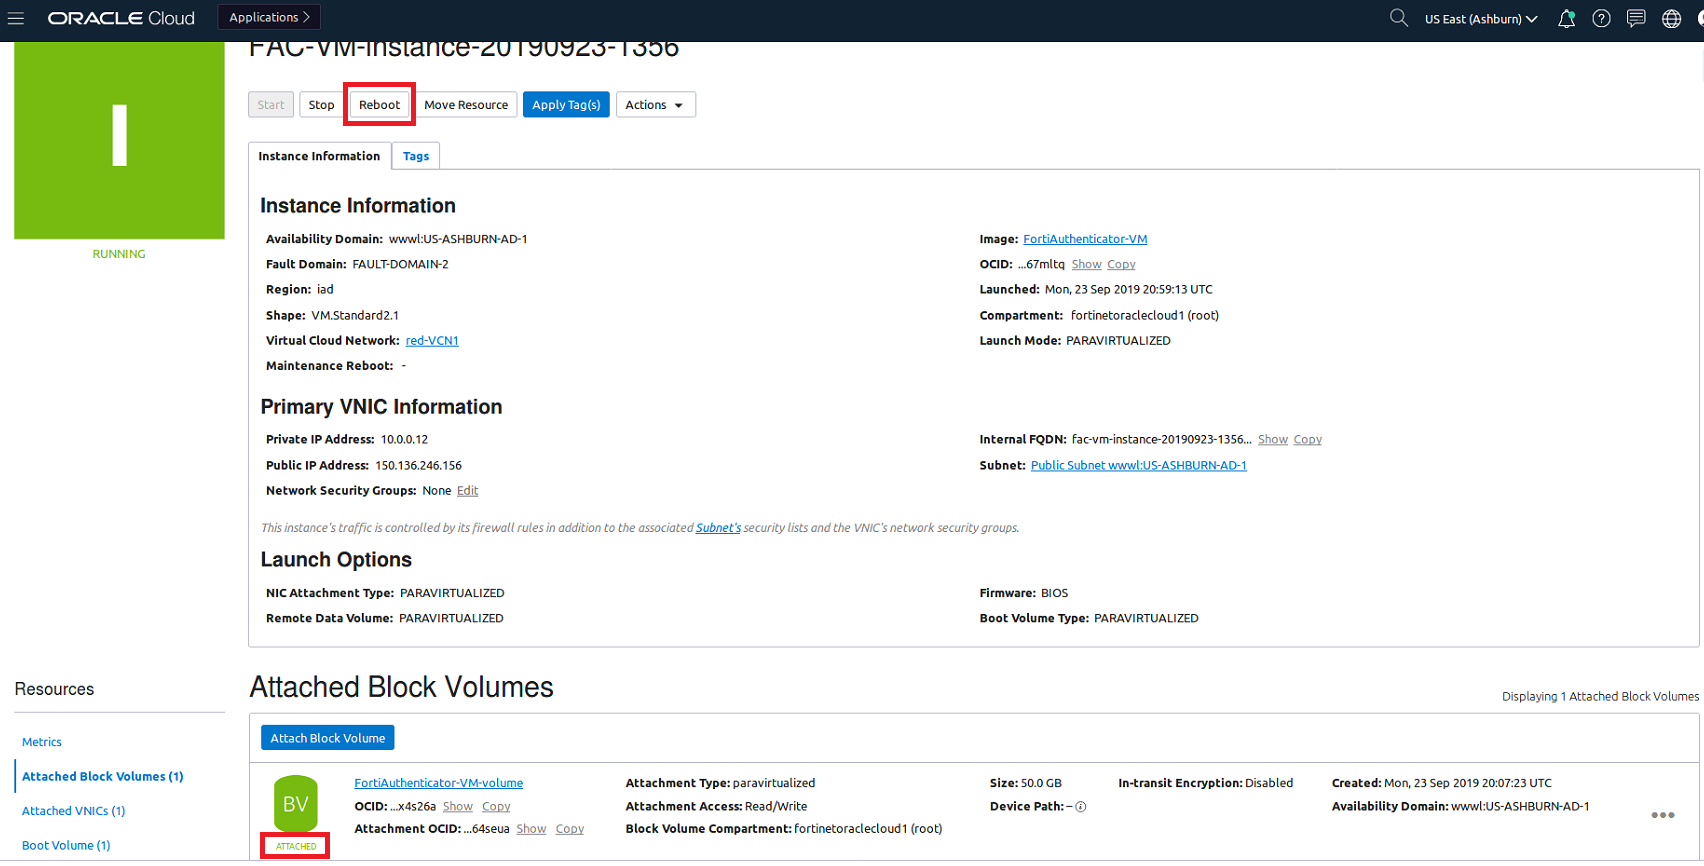
- Wait for the block volume to reach the Attached state, then click Reboot to restart the FortiAuthenticator-VM.