


Creating custom views
To create a custom view:
- Go to FortiSoC/Incidents & Events > Event Monitor.
- Select an existing view to copy.
- Select Add Filters to add any additional filters you want to include in the custom view.
- Select the custom view icon on the top-right side of the toolbar.
- Enter a name for the custom view and assign it to one of the following categories:
- By Endpoint
- By Threat
- System Events
- Custom View
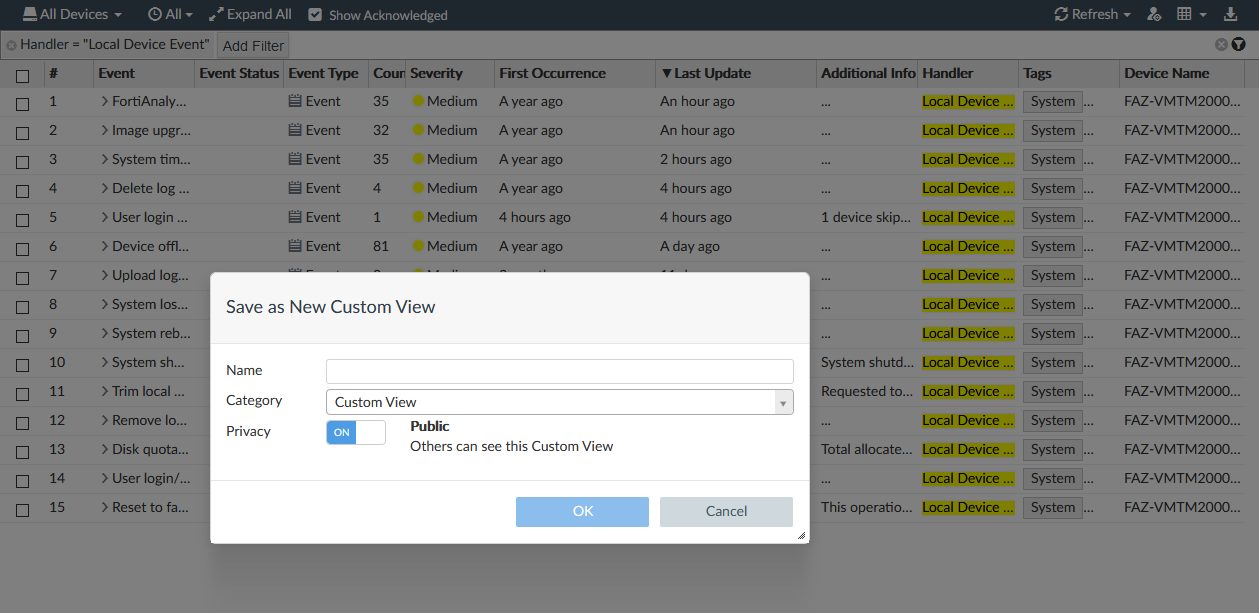
- In the Privacy field, select the custom view visibility.
- Public: Others can view this custom view displayed in Log View > Custom View.
- Private: Only you can see this custom view displayed in Log View > Custom View.
- Select OK to save the view.

When upgrading from versions prior to 6.2.0, existing custom views will be placed in the Custom Views category.
To edit a custom view:
- If using ADOMs, ensure that you are in the correct ADOM.
- In the toolbar, edit the filter settings as desired.
- In the tree menu, select the menu icon next to your custom view or right click the view, and select Save or Save As. Save As creates a new custom view which includes your changes.
You can change the Name and/or Category of the view by selecting Edit from the custom view's menu.
To change the visibility of a custom view:
- If using ADOMs, ensure that you are in the correct ADOM.
- In the tree menu, select the menu icon next to your custom view or right click the view, and select Share with Others.
- Set the Privacy field to On: Public or Off: Private, and click OK.