Azure Administration Guide
Changing a disk type on the FortiAnalyzer-VM (optional)
Changing a disk type on the FortiAnalyzer-VM (optional)
- Sign in to the Azure portal.
- Select the FortiAnalyzer-VM from the list of Virtual Machines.
- Stop the VM by selecting Stop at the top of the VM Overview pane, and wait for the VM to stop.
- In the navigation pane for the VM, select Disks.
- Select the disk that is to be converted.
- Select Configuration.
- Select the Account Type dropdown and choose the new disk type.
For example, select Standard SSD.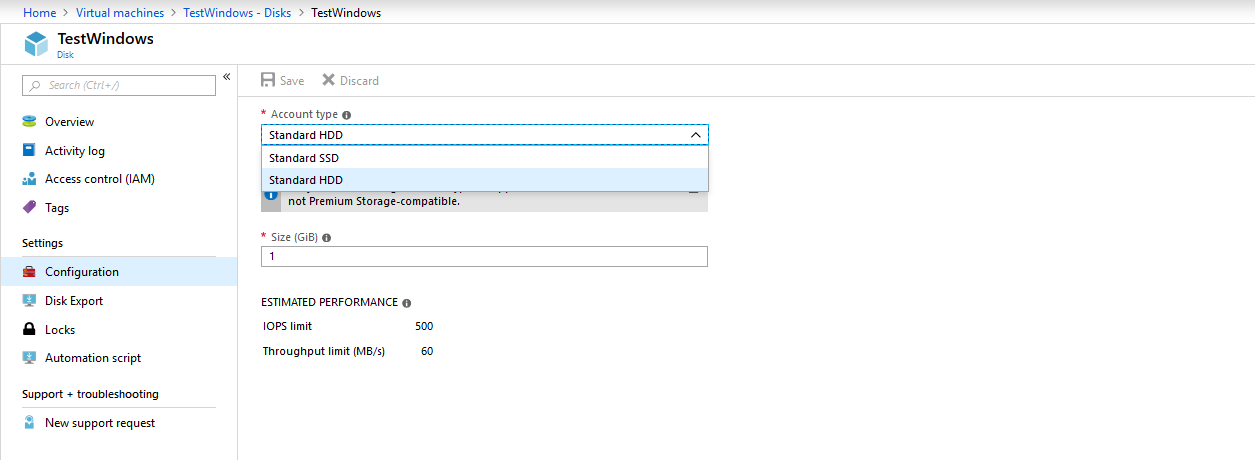
- Select Save.
The new disk type is displayed in the FortiAnalyzer-VM Disks pane.
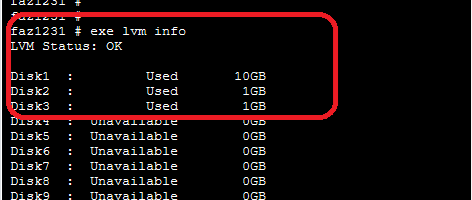
- Once the disk type has been changed, you can check the status of your FortiAnalyzer LVM with the CLI command: exe lvm info.
Changing a disk type on the FortiAnalyzer-VM (optional)
- Sign in to the Azure portal.
- Select the FortiAnalyzer-VM from the list of Virtual Machines.
- Stop the VM by selecting Stop at the top of the VM Overview pane, and wait for the VM to stop.
- In the navigation pane for the VM, select Disks.
- Select the disk that is to be converted.
- Select Configuration.
- Select the Account Type dropdown and choose the new disk type.
For example, select Standard SSD.
- Select Save.
The new disk type is displayed in the FortiAnalyzer-VM Disks pane.
- Once the disk type has been changed, you can check the status of your FortiAnalyzer LVM with the CLI command: exe lvm info.


