


Creating a FortiAnalyzer VM
- Find the FortiAnalyzer VM in the Microsoft Azure Portal:
- Log into the Microsoft Azure Portal and click Create a resource.

- Find the FortiAnalyzer Centralized Log Analytics and click GET IT NOW.

- Log into the Microsoft Azure Portal and click Create a resource.
- Under Select a deployment model, ensure that Resource Manager is selected. Select Create.

- Configure the Basics section:
- Set a FortiAnalyzer-VM name in the FortiAnalyzer virtual appliance name field.
- Under Version, select BYOL.
- Set a FortiAnalyzer administrative username. This name cannot be admin or root.
- Choose a FortiAnalyzer password for the new account and confirm the password. For security reasons, it is not possible to reset this password through the Microsoft Azure portal, so make sure that you remember the password.
- Select the appropriate Subscription from the dropdown list. You may have only one option here. Ensure your organization's subscription allows you to purchase the product.
- Create a new Resource group. Currently, it is not possible to select an existing resource group for a Microsoft Azure Marketplace template set, so you must create a new one.
- Set a Location for the VM. Click OK.

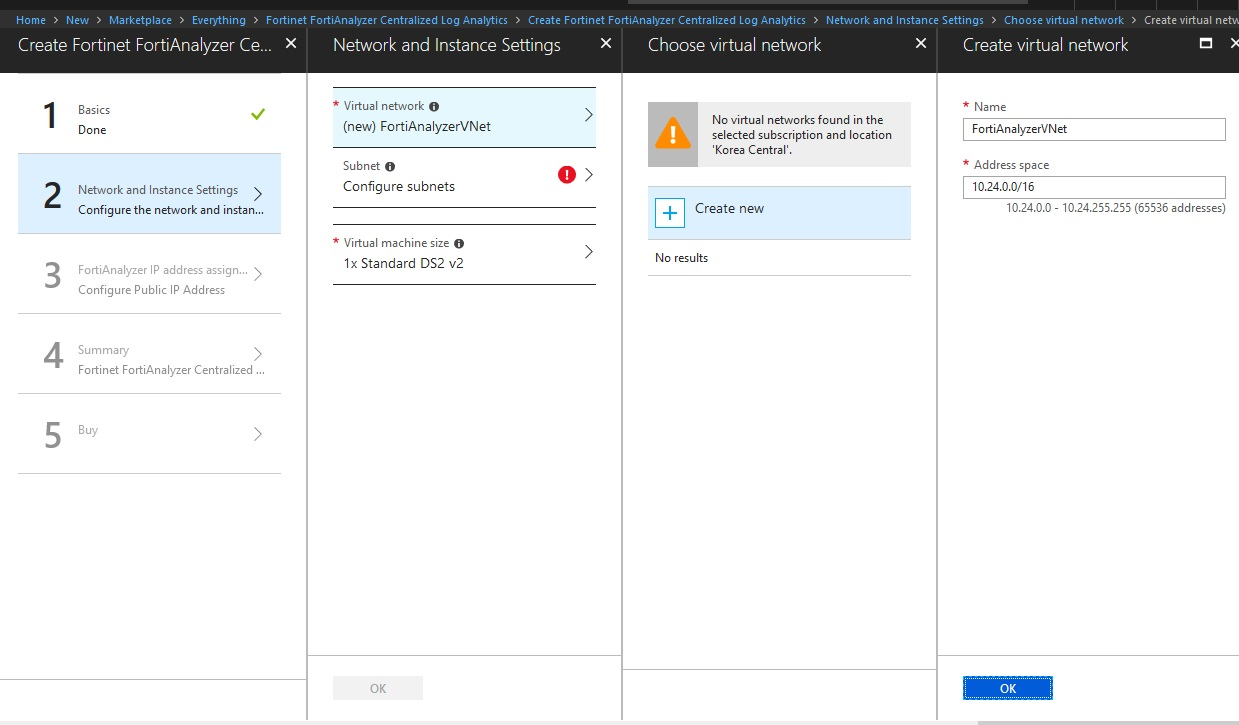
- Configure the Network and Storage Settings section:
- Select Virtual network. You can either create a new virtual network (VNet) or select an existing one.
- In the Address space field, accept the default values or specify your own. Click OK.
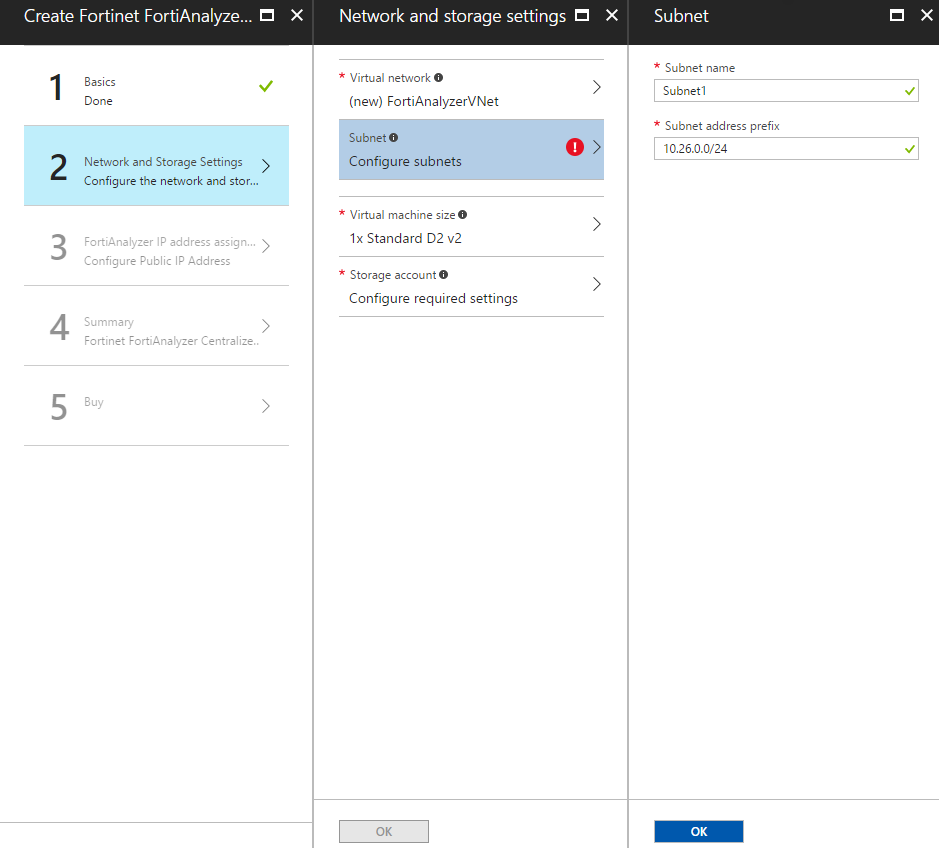
- In the Subnet section, the Subnet name and Subnet address prefix are pre-defined and you should not need to change the default values. Click OK.
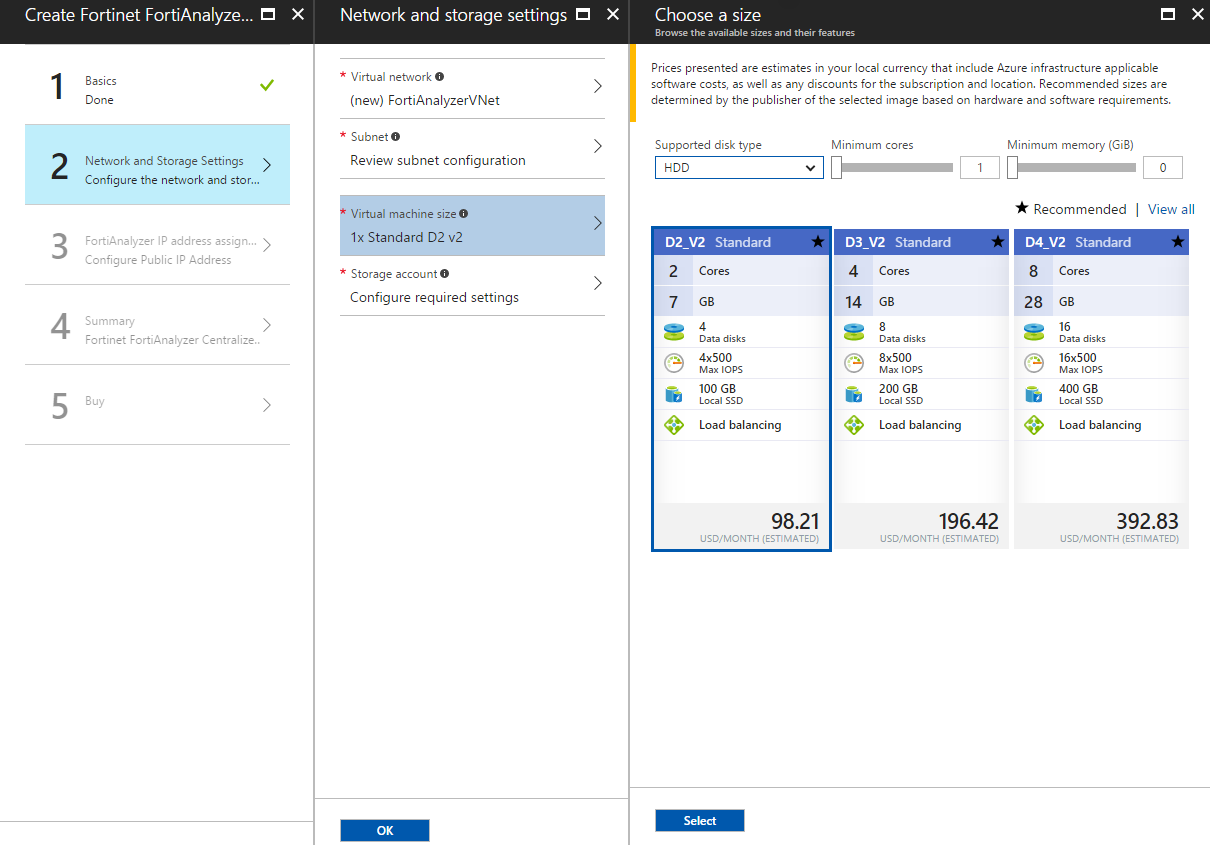
- In the Virtual machine size section, select the appropriate VM size for your deployment. In the Microsoft Azure Marketplace, the FortiAnalyzer VMs come in a variety of sizes. Each VM size within each series has different limits for the amount of memory, number of NICS, maximum number of data disks, size of cache, and maximum IOPS and bandwidth. Click OK.
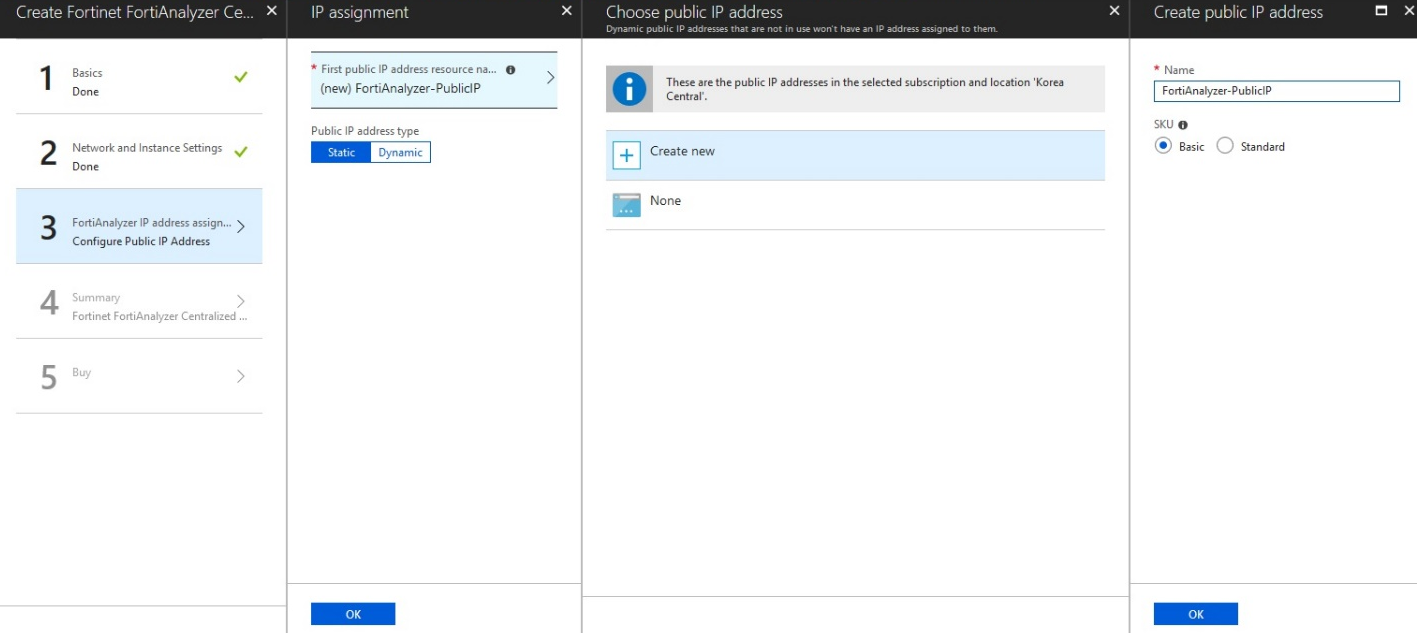
- Configure the FortiAnalyzer IP address assignments section:
- Select First public IP address resource name. In the Name field, set a name for the public IP address of the FortiAnalyzer.
- In the Public IP address type field, select Dynamic or Static. Click OK.
- In the SKU field, select Basic or Standard. Click OK.
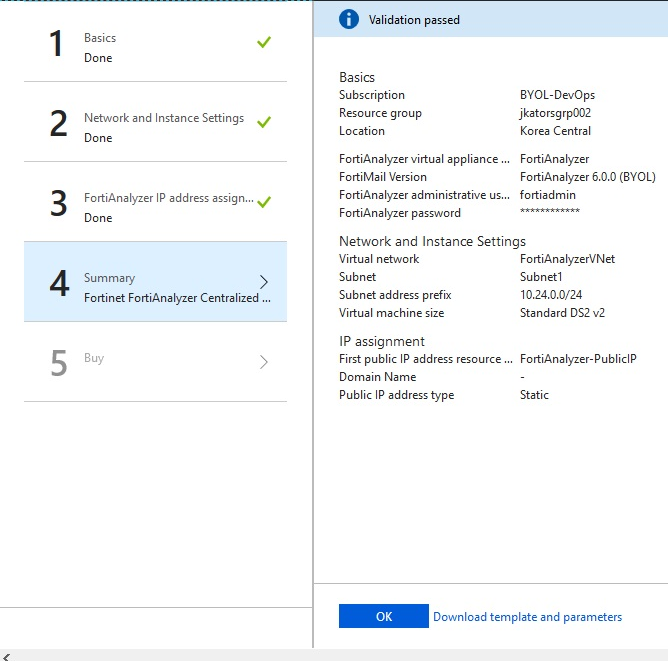
- Wait for validation to pass, then select OK.
If an error occurs at this stage, resolve it or contact Microsoft support.

By default, a log disk of 1 TB is automatically allocated to a FortiAnalyzer-VM instance.
- Select Purchase to buy the FortiAnalyzer-VM instance from Microsoft Azure. Once the FortiAnalyzer-VM is deployed, you will see a “Deployment succeeded” message. The deployment may take 30 minutes or longer to complete.

The terms of use you see at the time of your deployment may differ from the screenshot above.