Step 1: Import the FortiADC-VM virtual machine and configure its hardware settings
Before you begin:
- Extract the contents of the FortiADC-VM image .zip file to a folder that you can access from the Virtual Machine Manager.
To import the FortiADC-VM virtual machine:
- On the KVM host server, launch Virtual Machine Manager (virt-manager), and then select Create a new virtual machine.
- Ensure that Connection is localhost (the default value).
- Select Import existing disk image.
- Click Forward.
- Click Browse to navigate to
boot.qcow2and select it. - Use the default values for OS Type and Version.
- Click Forward.
- Specify the amount of memory and number of CPUs to allocate to this virtual machine. Ensure the values do not exceed the maximums for your license.
- Click Forward.
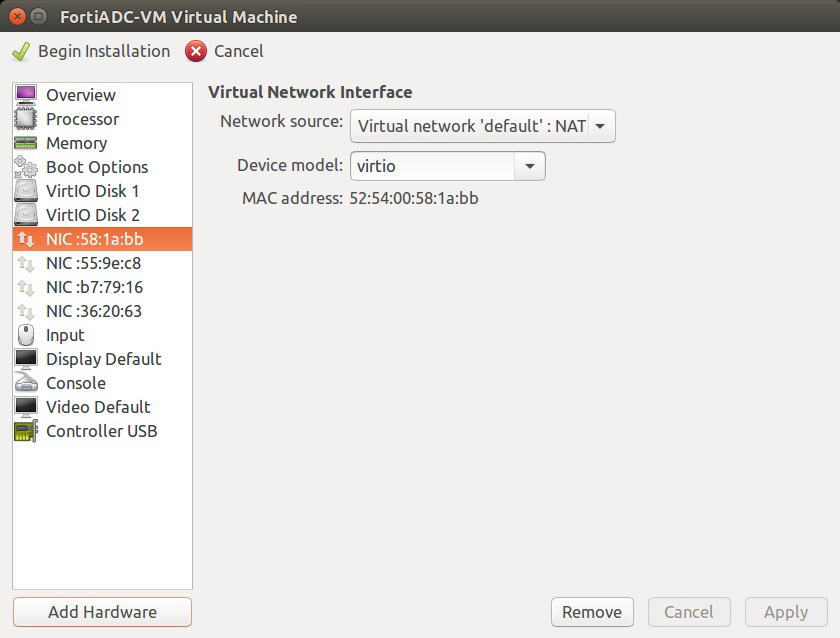
- Enter a name for the VM (for example,
FortiADC-VM) and select Customize configuration before install. - Click Finish.
- Select the virtual disk to display its properties.
- Under Advanced options, for Disk bus, select Virtio, and for Storage format, select qcow2.
- Click Apply.
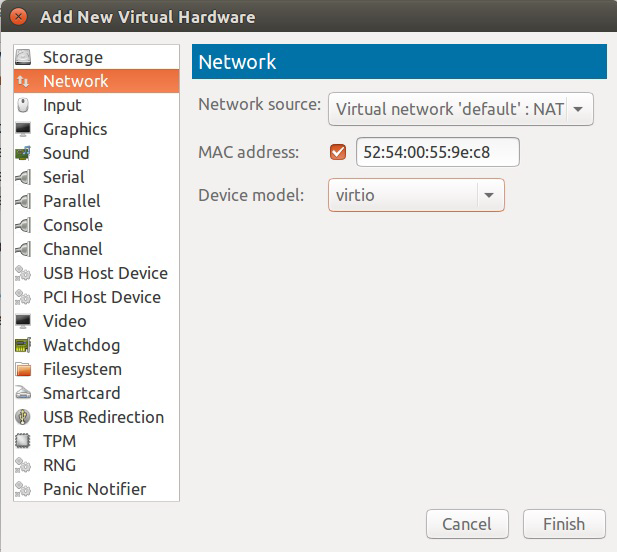
- To add a new virtual storage device, click Add Hardware.
- Do the following:


|
|
Fortinet recommends that you use at least 4 GB memory. |


- Ensure Storage is selected.
- Select Select managed or other existing storage.
- Click Browse to navigate to
data.qcow2and select it. - For Bus type, select VirtIO.
- For Storage format, select qcow2.